Portable Maps
Shows your waypoints, routes and tracks on a map from various data sources.
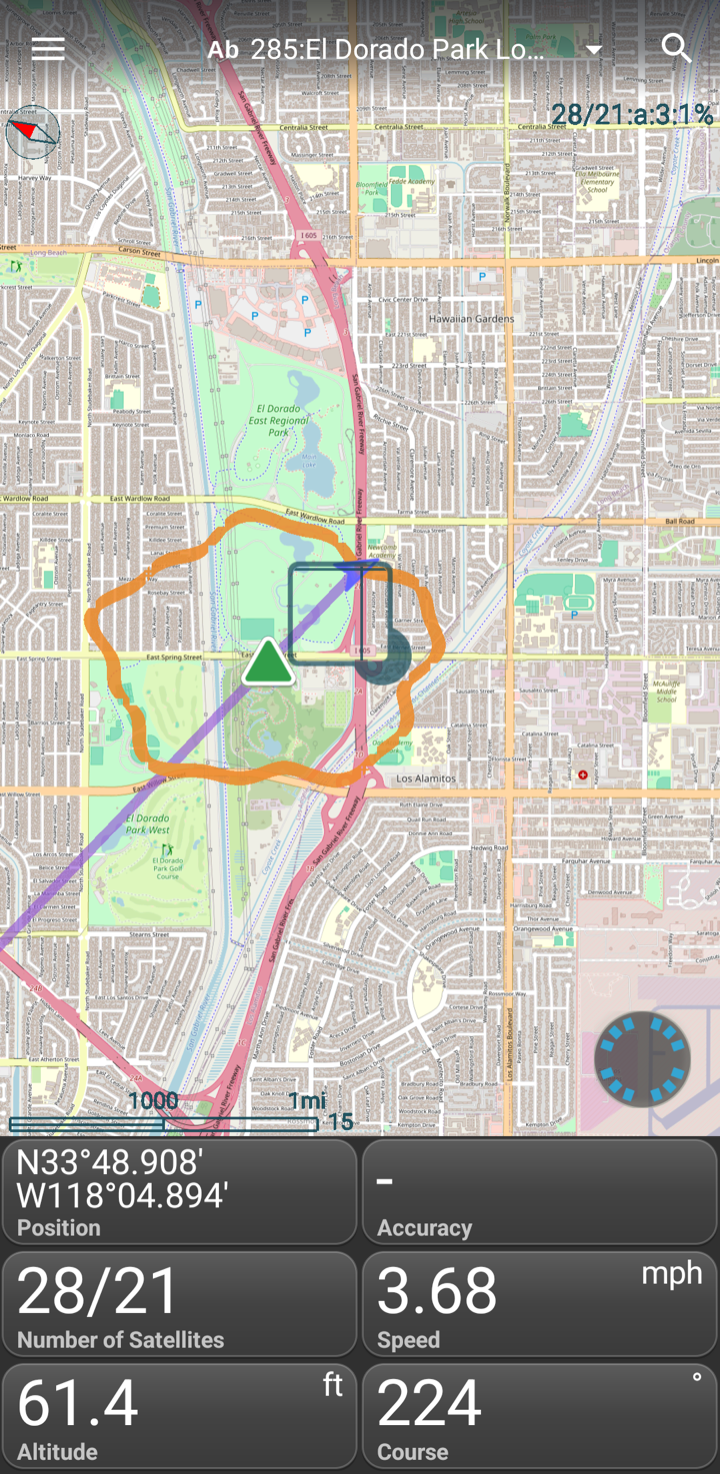
This view shows your current position, waypoints, tracks and routes on top of a map. You choose the map background yourself. New map data loads from the internet while you zoom and pan the map, and all downloaded data is kept on your device for offline use. You can also download map areas ahead of time.
There are two maps. The classic map is described in most of this chapter. With Labs on (Try New Features in Settings), Portable Maps opens on the new map, which is described in its own section below. Cursors, the toolbar and the dial menu work on both.
The Map
To pan the map, tap and hold the map and then swipe your finger to any direction. To zoom the map, pinch it with two fingers. Tap an element on the map to select it. Double-tap an element to open it.
Below the map are widgets, the same ones as on the dashboard (see Dashboard Split View below).
Cursors
You use cursors to select elements and mark locations on the map. To create a new cursor, tap and hold anywhere on the map. You can have up to three cursors; creating a fourth removes the oldest. There is one active cursor which is bolder than the others.
If you start dragging right after a new cursor was created, it moves with your finger. To move an existing cursor, tap and hold its bottom right corner.
If there is an element within the bounds of the cursor, the crosshair snaps to the element and the cursor has a selected element. If there is more than one element, the one closest to the center of the cursor is selected.
The Toolbar
On the left of the toolbar, the information pane shows one aspect of the selected element. An aspect is a piece of information about the element, such as its name, location, altitude or time. To change the aspect, tap the information pane and select a new one from the drop-down list. To the right of the information pane is Search, which finds an address or place.

| Icon | Name | Description |
|---|---|---|
 |
Name | The name of the selected item, e.g. the name of the waypoint, route or track. |
 |
Location | The location of the item or the plain cursor when there is no selected item. |
 |
Altitude | The altitude of the item. |
 |
Time | The time of the item, e.g. the track time for a track element. |
 |
Target | The distance and bearing from the previous cursor location to the current cursor location. |
Dial Menu
You use the dial menu to run map commands. The dial menu is located at the bottom right corner of the map. It has its name from the rotary dial, a long gone input device.
In its initial state, the dial menu is collapsed to a small disk. Tap on it to expand. The dial menu has two rings, the inner ring shows command groups and the outer ring shows commands. You can rotate both rings to show hidden icons. When you tap on an icon on the inner ring, the outer ring rotates to show the commands of this group. Commands that do not apply to the selected element are disabled.
Below is a list of all commands. Some of the commands are only available when you created a cursor over an existing element (long tap and drag the cursor until it locks onto an element). Tap and hold a command to see what it does.
 |
Edit | Commands to change the nodes under the cursor or add new nodes |
|---|---|---|
 |
Edit | Opens the selected element for editing. This is the same as tapping on an element in list view |
 |
Add | Adds a new node under the current cursor. The element will have the default icon, use edit to change its properties |
 |
Contacts | Finds a contact and shows its address on the map |
 |
Mark | Marks the element under the current cursor. This is the same as marking in the waypoint editor. You can then copy or move it to a different stream |
 |
Remove | Removes the element under the current cursor |
 |
Chart | Shows the chart of the selected element’s category |
 |
Export | Exports the selected element’s stream |
 |
Bulk Download | Loads all map tiles of the current map for the visible area, for use without a connection. Not every map allows this. |
 |
View | Commands to change the presentation of the map |
|---|---|---|
 |
My Location | Pans the map to show the current location and keeps it centered while moving |
 |
Zoom In | Zooms the map in |
 |
Zoom Out | Zooms the map out |
 |
Zoom All | Zoom to show all contents of the current stream. |
 |
Zoom Leg | Zoom to show the current location and the current target |
 |
Map | Select a different map. The map will be saved for the current stream |
 |
Navigate | Controls route navigation |
|---|---|---|
 |
Start | Navigate to the selected target |
 |
Previous | Navigate to the previous target |
 |
Pause | Suspend navigation |
 |
Next | Navigate to the next target |
 |
Playback | Controls track playback |
|---|---|---|
 |
Play | Starts playback at the selected element |
|
Pause | Suspend playback |
 |
More | Shows miscellaneous commands |
|---|---|---|
 |
Help | Shows the help page for Portable Maps |
 |
Settings | Shows app settings |
📱 Create a new waypoint
- Tap and hold on the map to create a new cursor.
- Now drag the cursor onto the location where you want the new waypoint.
- Tap the dial menu to open it and select the Edit group.
- Select the add tool
 to create the waypoint.
📱 Measure the distance between two waypoints
- Place a cursor onto the first waypoint.
- Place another cursor onto the second waypoint.
- Tap on the info pane and select the target aspect.
- While you are dragging the cursors, the info pane will keep its values updated so you can make successive measures quickly.
Choosing a Map
Open the dial menu and select the map command in the
View group to choose the map backgrounds to show. The map is saved for
the current stream.
Using Maps Offline
Move the map to the area you need, open the dial menu and select Bulk
Download in the Edit group. GPS Essentials downloads the
visible area of the current map ahead of time, so you can view it later
without an internet connection. Not every map allows this. Storage Setup
in Settings shows how much space the downloaded maps take and lets you
clear them.
The Map with Labs On
With Labs on, Portable Maps opens on the new map. It is drawn by a new renderer with the Mapfinity vector map, and it draws only when something on it visibly changes, which is easier on the battery. Turn and tilt it with two fingers.
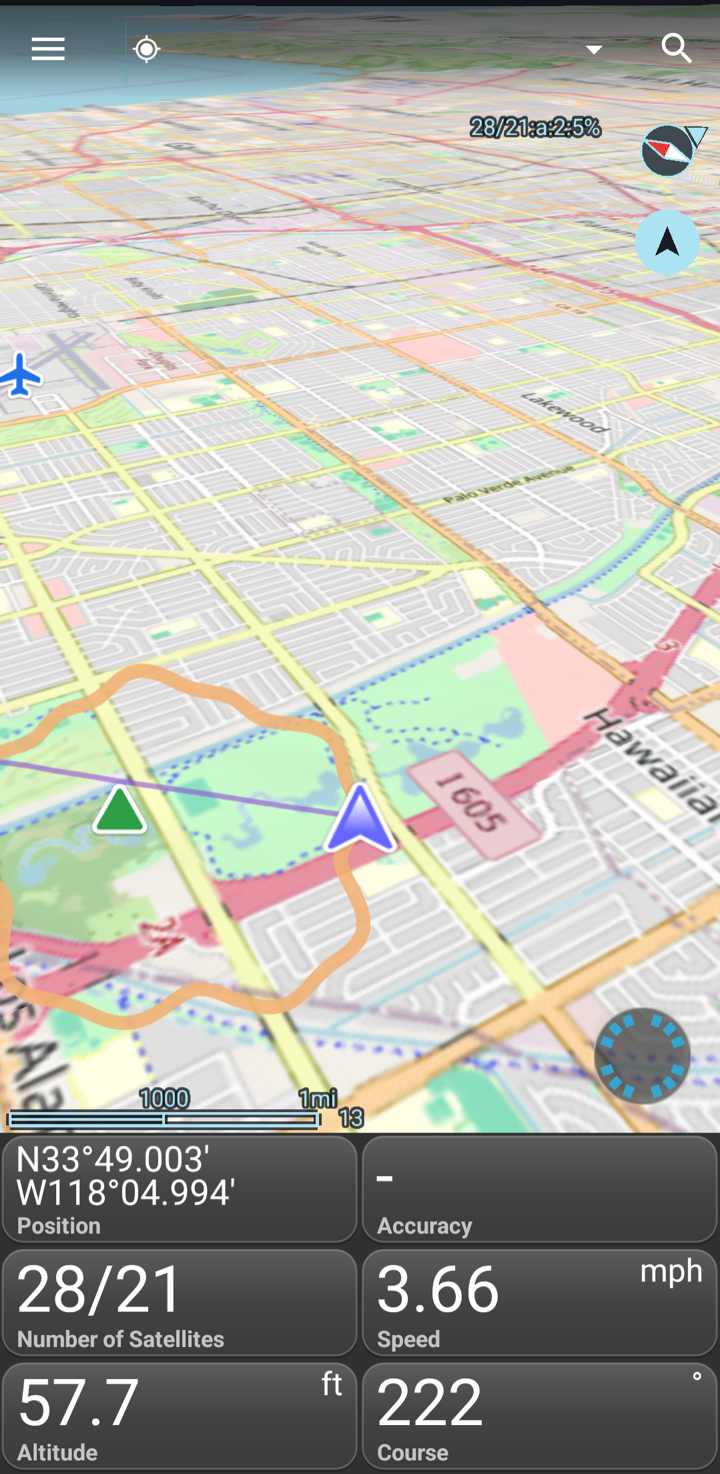
The button below the compass in the top right corner follows your location. Each tap takes it to the next state:
- Auto pan, north up: the map keeps your location in the middle, north up.
- Auto pan, course up: the map turns so that the way you move points up, and keeps your location in the lower third, where more of the way ahead shows. Standing still, it turns by the compass.
- Auto pan off: the map stays where you leave it.
Dragging the map with one finger turns auto pan off. Pinching zooms about your location and keeps auto pan on, and in course up the map keeps its turn.
The compass shows which way is north on a turned or tilted map. Tap it to turn the map north up and flat again.
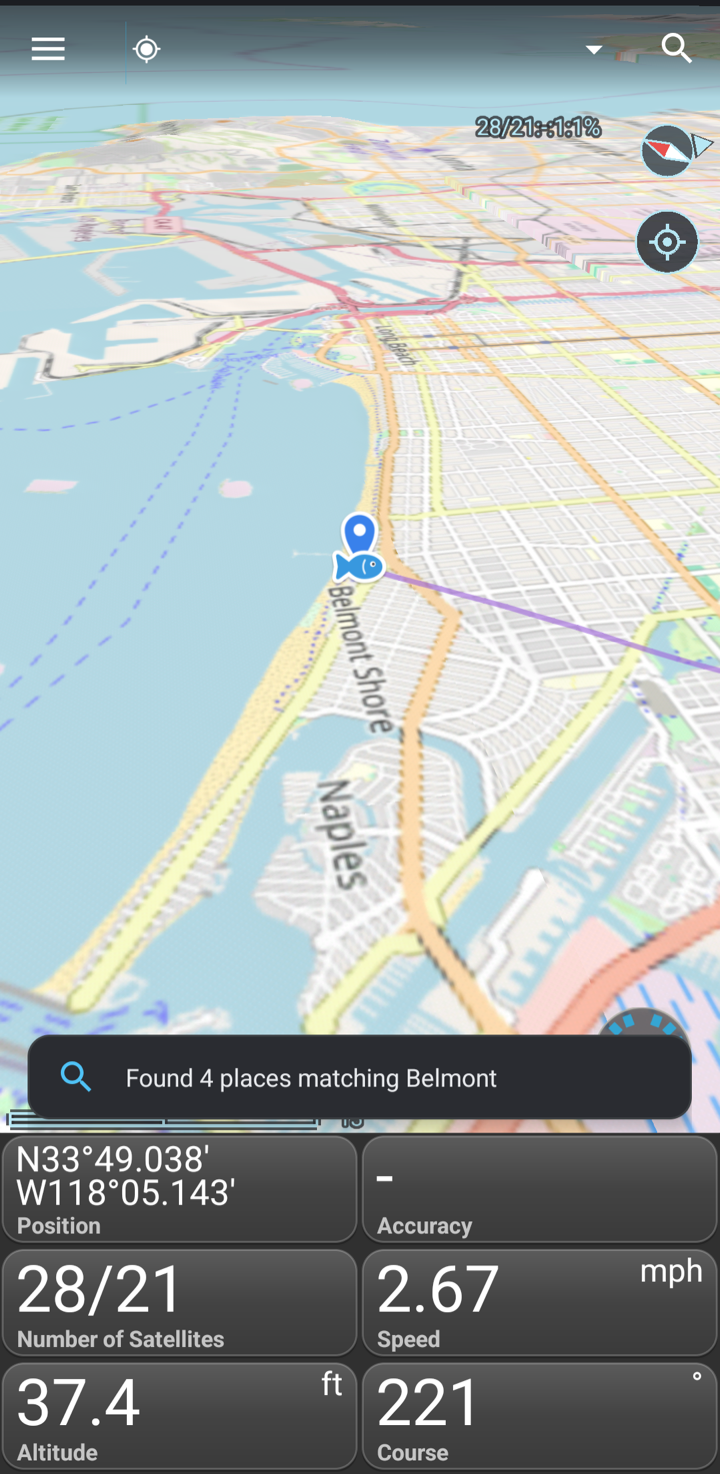
Search takes one line, “Text or location…”. Type a name, coordinates or an address and tap the search key. The hits appear on the map as they arrive: coordinates and your waypoints at once, addresses from the Geocoder in Settings a little later. If the best hit lies outside the view, the map moves there, and a message tells how many places were found.
Dashboard Split View
Your screen is divided into a section that shows the map and a section that shows a portion of the dashboard.
Here is a split view that shows map and dashboard in both portrait and landscape oriented screens:
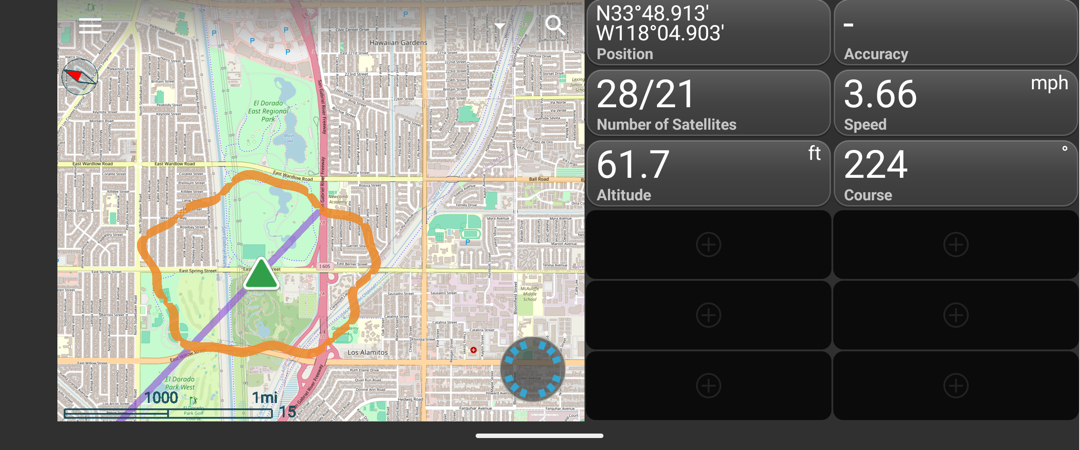
There is an invisible divider bar between the map and the dashboard. When you tap onto the border between the map and the dashboard, the divider will become visible and you can drag it to make more room to either the map or the dashboard.